
Have you ever noticed how some piano students just get rhythm without even trying… and other students really struggle to find the right feel?
We all know rhythm is critical. But it’s not something that can just be taught on paper inside a method book. Rhythm has to be felt. It has to be physically experienced.
And here’s the tricky part. Not every rhythm strategy works for every student.
So today I want to share five creative ways you can teach rhythm starting this week. Not the usual “write the counting” and move on. These ideas go beyond that and help students actually feel the rhythm in a natural and fun way.
1. Sing the Rhythm
I know. Some of you love this idea. Some of you hate it already.
But as music teachers, we have to use our voices at least a little bit. You do not need to sound like you’re auditioning for American Idol. You just need to be on pitch and in rhythm. That’s it.
Let’s say a student plays the notes correctly but the rhythm is off. You could explain half notes and quarter notes again. Or you could fix it in ten seconds by singing the rhythm correctly and having them copy you.
If the piece has lyrics, sing them in rhythm.
If it doesn’t, use solfege.
If you don’t want to use solfege, make up silly words.
Students hear it. They copy it. It works.
Why This Works
It instantly locks in the “feel” of a rhythm rather than trying to convey a message through words.
You know a picture is worth a thousand words. A demonstration is worth ten thousand words when it comes to music.
How to Use in Lessons
If you student plays an incorrect rhythm in a song with words, sing that portion (connecting the words with the correct rhythm).
If your student plays an incorrect rhythm in a song without words, use solfege (or other syllables) to achieve the same thing.
Resources That Might Help
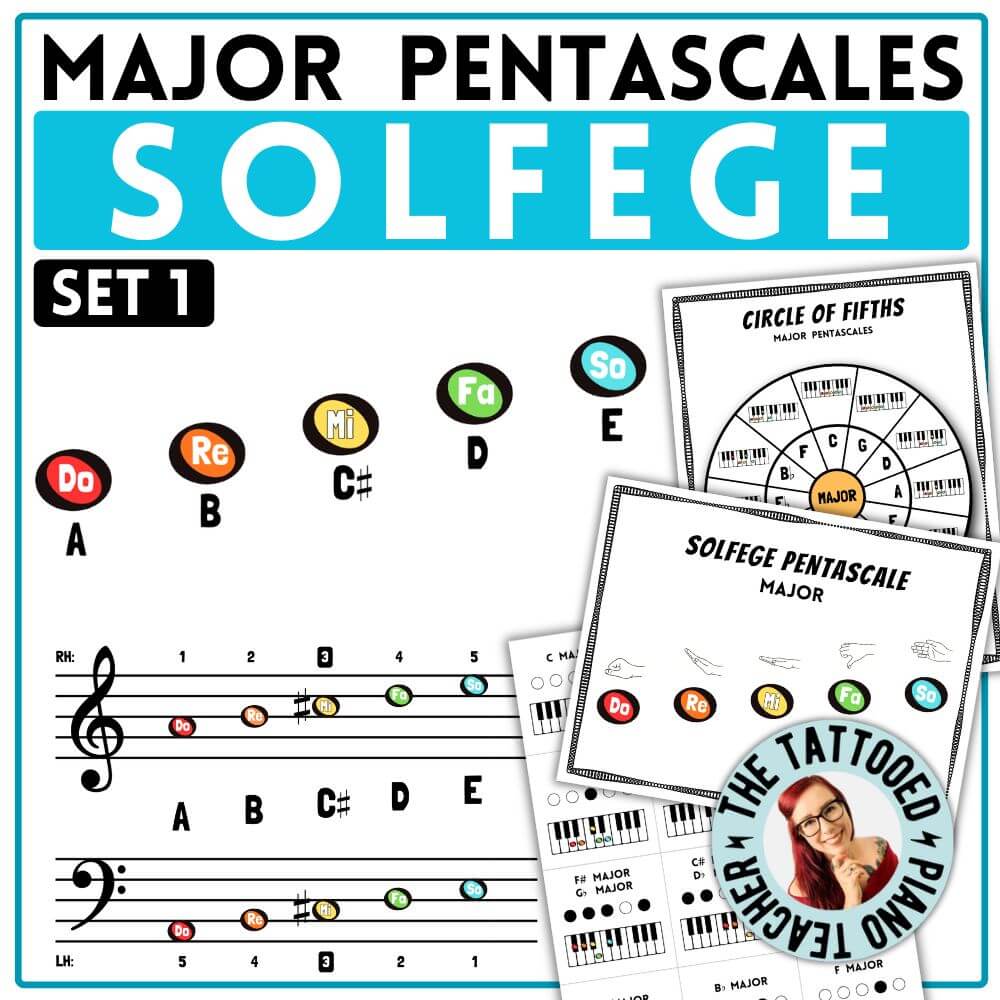
If you’d like to try using solfege in your lessons, a great place to start is with my Solfege Major Pentascale Chart & Technique Pages!
2. Overlap Rhythmic Patterns
This one is so effective for students who “understand” rhythm but don’t actually keep a steady beat.
You tap one rhythm. They tap a different rhythm. Same beat. Different patterns.
For example:
- You tap quarter notes.
- They tap half notes.
- Or you clap while they play.
- Or you play a duet while they tap.
They cannot speed up or slow down without it falling apart. It forces them to feel steady beat.
This is especially helpful for students who say “one two” for a half note but stretch it randomly instead of feeling two equal beats.
You can do this with:
- Tapping games
- Duets
- Rhythm only worksheets
- Group lessons
- Partner lessons
It builds independence and pulse at the same time.
Why This Works
Overlapping rhythmic patterns in a duet setting with your students works because it relates note values to an actual tempo and because it forces independence.
How to Use in Lessons
Introduce rhythm duets anytime! It doesn’t have to relate to any particular song you’re working on. Make it a fun game time and students won’t even realize they’re drilling music fundamentals. Try one of the activities listed below.
Don’t skip over these types of rhythm duet activities when they come up in the method books! Faber Piano Adventures Primer Level Theory Book has a beginner rhythm duet activity. WunderKeys Elementary, Intermediate, and Pop Staff books regularly include rhythm/piano duets. Don’t treat these as optional!
Or extract the rhythm from a song your student is struggling with. Make it into a fun duet activity. Students can even write their own rhythm to accompany the extracted rhythm.
Resources That Might Help
Try Rhythm Cup Explorations by Wendy Stevens for a fun tapping activity that offers many difficulty levels.
3. Attach Rhythms to Words
Our brains remember words better than numbers. That’s just how we’re wired.
Instead of saying:
“1 and 2 and 3 4”
Try:
“Basket of apples”
“Ice cream sundae”
“Peanut butter jelly”
When you attach rhythm to syllables, students feel it immediately.
I use this in rhythm games all the time. When students say the phrase, they retain it. If I just count it, they forget it.
You can do this with:
- Bingo style rhythm games
- Composition activities
- Beginner theory sheets
- Pre reading students
Once they can speak it, they can usually play it.
Why This Works
Counting really only helps once a student has developed a steady sense of beat (use overlapping rhythms suggested above) and can feel rhythm patterns (such as quarter-quarter-half or quarter-eighth-eighth).
Until these rhythmic skills are developed, we need an easy way for their brains to retain how the rhythmic pattern feels. And attaching words is the best way to accomplish this!
An example from everyday life is… Have you ever heard children reciting a poem as a group? Or heard a group of elementary students chanting as they jump rope? These are instances where the words and the rhythm have been engrained simultaneously!
How to Use in Lessons
This concept can be used as a separate rhythm activity. It does not have to relate to a specific song or assignment. (See below for activity ideas.)
Use words or phrases when introducing a new note value or a new rhythm pattern/combination.
Later when that rhythm or pattern comes up in a song, relate it back to the word or phrase.
Example: I use “Deck the halls” to introduce the dotted quarter/eighth note combination. Students easily know this rhythm from the familiar holiday tune. Later when they encounter the dotted quarter/eighth pattern in an unfamiliar song, I sing that song using the Deck the Halls lyrics to relate it.
Resources That Might Help
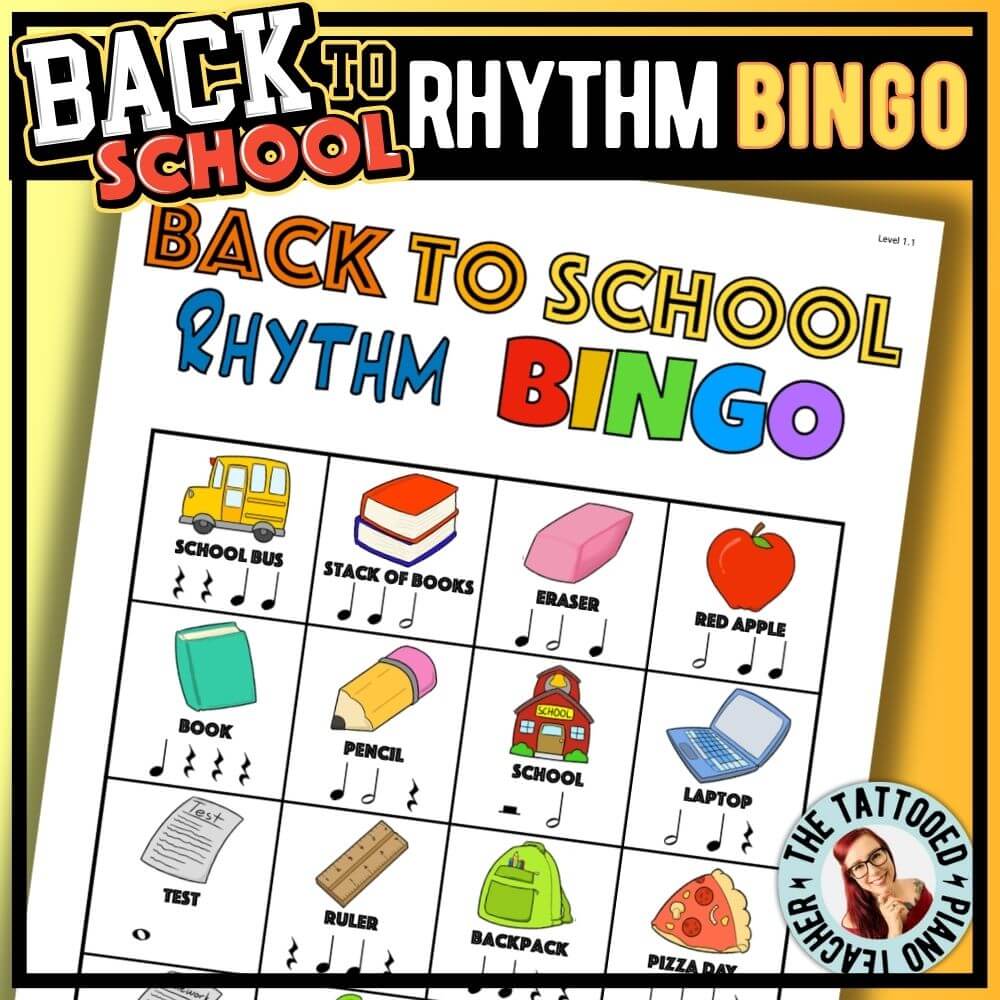
Try Rhythm Bingo in all 10 seasonal variations. It relates a seasonal word or phrase to the rhythm shown on the bingo board.
Or try my Compose with Dice activity (also available for all seasons). Students are given a simple rhythm with lyrics. They will be rolling a die to determine each melody note. But before we add pitch, use the words/rhythm to try out this concept! Try one song for free, and if you like it, consider buying a seasonal pack.

4. Call and Response
I love this for first lessons.
You tap a rhythm. They tap it back.
No note reading required. They don’t even need to know what a quarter note is.
This works for:
- Four year olds
- Teen beginners
- Trial lessons
- The last two minutes of a lesson when you need something quick
Parents love walking in and seeing their child confidently echo rhythms.
It also gives you instant information. Some kids naturally feel rhythm. Others need more support. You can tell right away.
Why This Works
Using call and response works because it doesn’t require any reading. Some students struggle with relating notes on the page to the feel of a song.
With call and response, the rhythms can be 100% felt. And later, you can work on relating it back to the notes on the page.
Even young students can nail complicated rhythm patterns just by ear!
How to Use in Lessons
Use a call and response activity in a trial or first piano lesson to get a sense of a student’s natural rhythmic ability.
Introduce a new rhythm pattern (triplets, dotted rhythms, sixteenth notes, syncopation, etc) by feeling it first–before you ever show the student what it looks like.
Because it requires no forethought, no equipment, a quick “game” of call and response at the end of a lesson is a great “we’ve got one minute left” activity.
Or use this as a quick off-the-bench brain break for an antsy student.
Resources That Might Help
Consider investing in a drum or pair of drums for an extra engaging version of “Call and Response.”
For first lessons (trial lessons), I have a pack of “interview sheets” that guide you through getting to know your new student. And guess what? Call and response rhythms is a part of that! Check out the First Piano Lesson Worksheets here.

5. Move to the Rhythm
If a student plays 3/4 Time Siganture like it’s 4/4, do not explain it again. Get them moving.
Stand up. Waltz. Walk in a circle. Sway.
Most kids can feel a waltz physically even if they cannot explain it.
You can even play something like The Blue Danube first so they feel that 1 2 3 pattern in their body. Then sing or hum their piece while they keep moving.
If they are older and don’t want to dance around your studio, that’s fine. Have them:
- Sway on the bench
- Tap their legs
- Tap on the closed piano lid
Movement also fixes rest problems. If they rush through rests, add a big dramatic freeze. They will remember that freeze every time they play the piece again.
Why This Works
Again, a demonstration is worth ten thousand words in a music lesson!
Stop explaining overarching rhythmic concepts over and over (such as 3/4 vs 4/4, cut time, syncopation, rit/accl, etc). Get up off the bench and feel it.
Some things in music just have to be felt. That’s what makes movement so effective.
How to Use in Lessons
Use exciting classical or modern music to drive home a particular musical feel (whether it be a waltz pattern, swing eighth notes, phrasing, etc.). Move around the room to the groove of the music.
Then turn off the music, and start singing/humming the song you want to apply this feel to. Magically, you’ll make a rhythmic correction a fun, “let’s do that again” activity!
Resources That Might Help
You can move in lessons without any equipment, training, or plan!
However, if you like the idea of movement in lessons but don’t know where to start, look into eurythmy!
Make Rhythm a Regular Part of Lessons
Rhythm does not have to live inside the assignment book.
Pull out a drum.
Clap.
Tap.
Dance.
Play rhythm games.
Spend five minutes on rhythm even if it’s not in the piece.
When students feel rhythm first, reading it becomes easier.
If you’re a piano teacher reading this, I’d love to hear your favorite rhythm strategy. Drop it in the comments and let’s learn from each other.
